Introduction
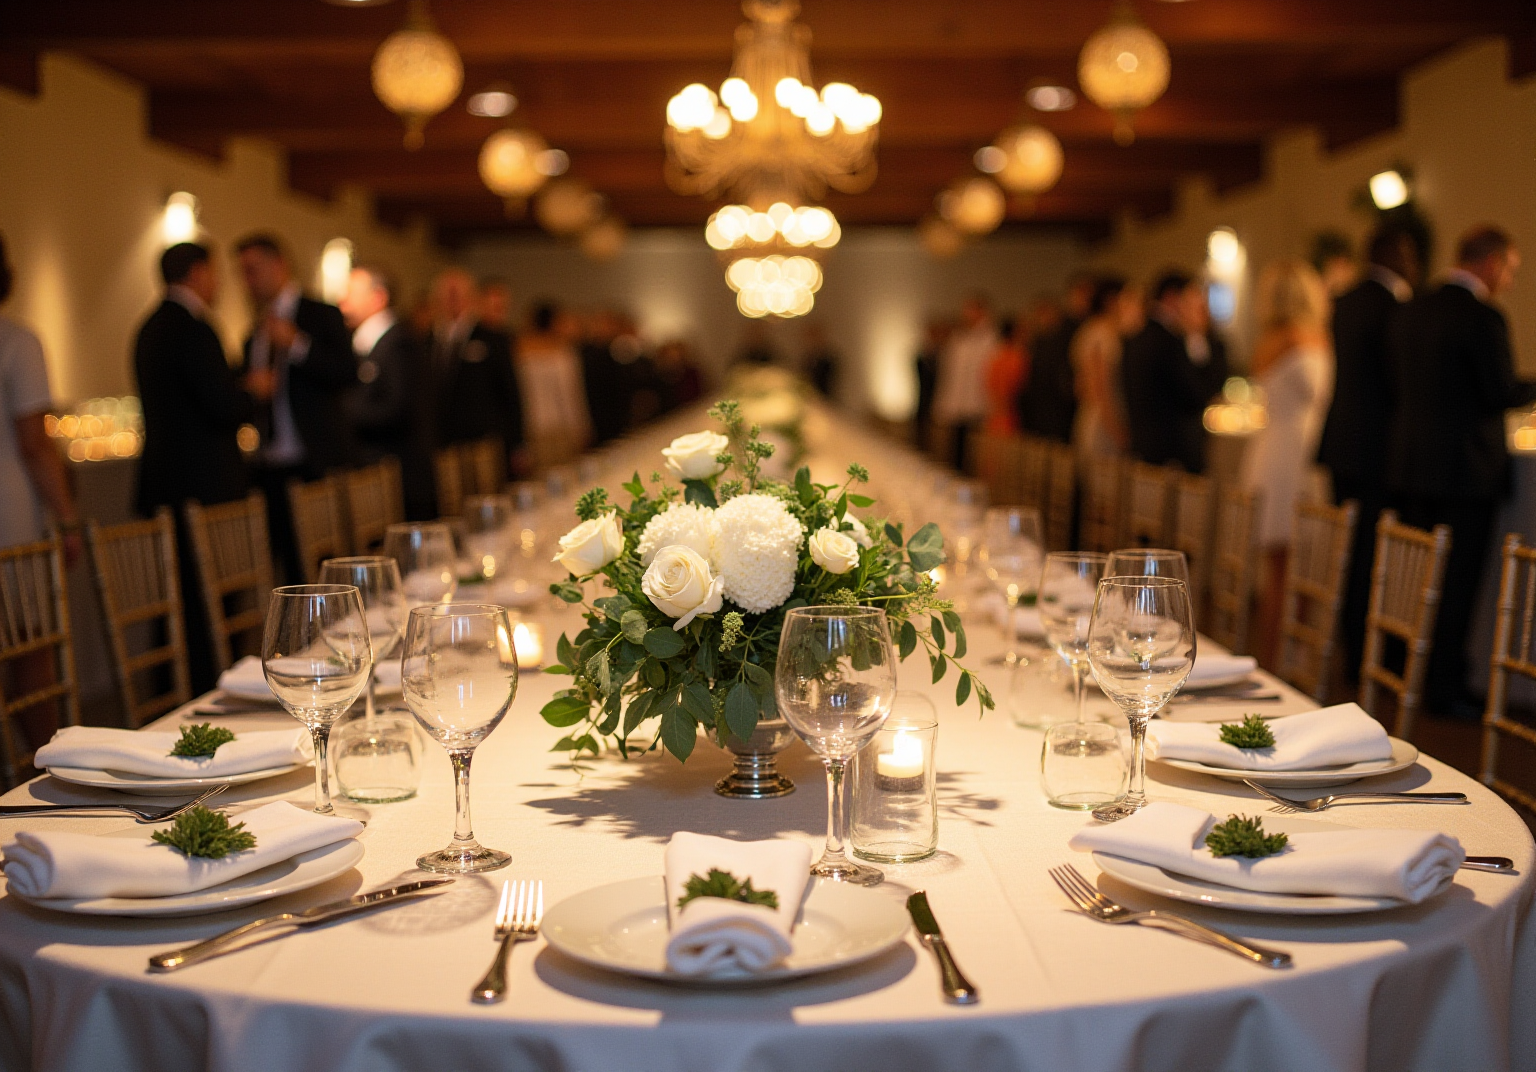
Creating a visually striking craft table cover is the secret ingredient that can transform an ordinary event into an extraordinary experience. This guide presents a straightforward, four-step approach to crafting a stunning table cover that not only enhances the aesthetic appeal of any gathering but also reflects your personal style.
But what if the process feels daunting, or the final product doesn’t meet your expectations? Fear not. Uncover the essential materials and techniques that will empower you to design a beautiful craft table cover, ensuring every detail contributes to a memorable occasion.
Research shows that a well-decorated table can elevate the entire atmosphere of an event. By following this guide, you’ll not only create a table cover that impresses your guests but also showcases your unique flair. So, let’s dive in and transform your event with a stunning table cover!
Gather Essential Materials for Your Craft Table Cover
To create a stunning craft table cover, you need to gather essential materials that will elevate your event:
- Fabric: Choose a fabric that aligns with your style and purpose. Basic Polyester is a reliable choice for durability and stain resistance, while Duchess Satin adds an elegant touch for more sophisticated settings. IQ Linens offers a range of premium materials, ensuring you can discover the ideal choice for every occasion. Remember, the aesthetic impact of your fabric choice for the craft table cover can significantly enhance the overall look of your event.
- Measuring Tape: Accurate measurements of your furniture dimensions are crucial for a proper fit. IQ Linens provides guidance on how to measure your table, ensuring your linens drape just right.
- Scissors: Use sharp scissors to cut the material to your desired size.
- Sewing Machine or Needle and Thread: Decide between machine sewing for efficiency or hand sewing for a personal touch.
- Pins or Fabric Clips: These tools will help secure the material in place while you sew, ensuring precision.
- Iron: Smooth out any wrinkles in the fabric before starting to achieve a polished look.
- Hemming Tape (optional): For those who prefer a no-sew option, hemming tape can provide a clean finish to the edges.
Having all these materials prepared will enable a smooth crafting experience on the craft table cover. This allows you to focus on creating a stunning centerpiece that enhances your event. Don't underestimate the power of quality linens; they can transform your gathering into an unforgettable occasion.
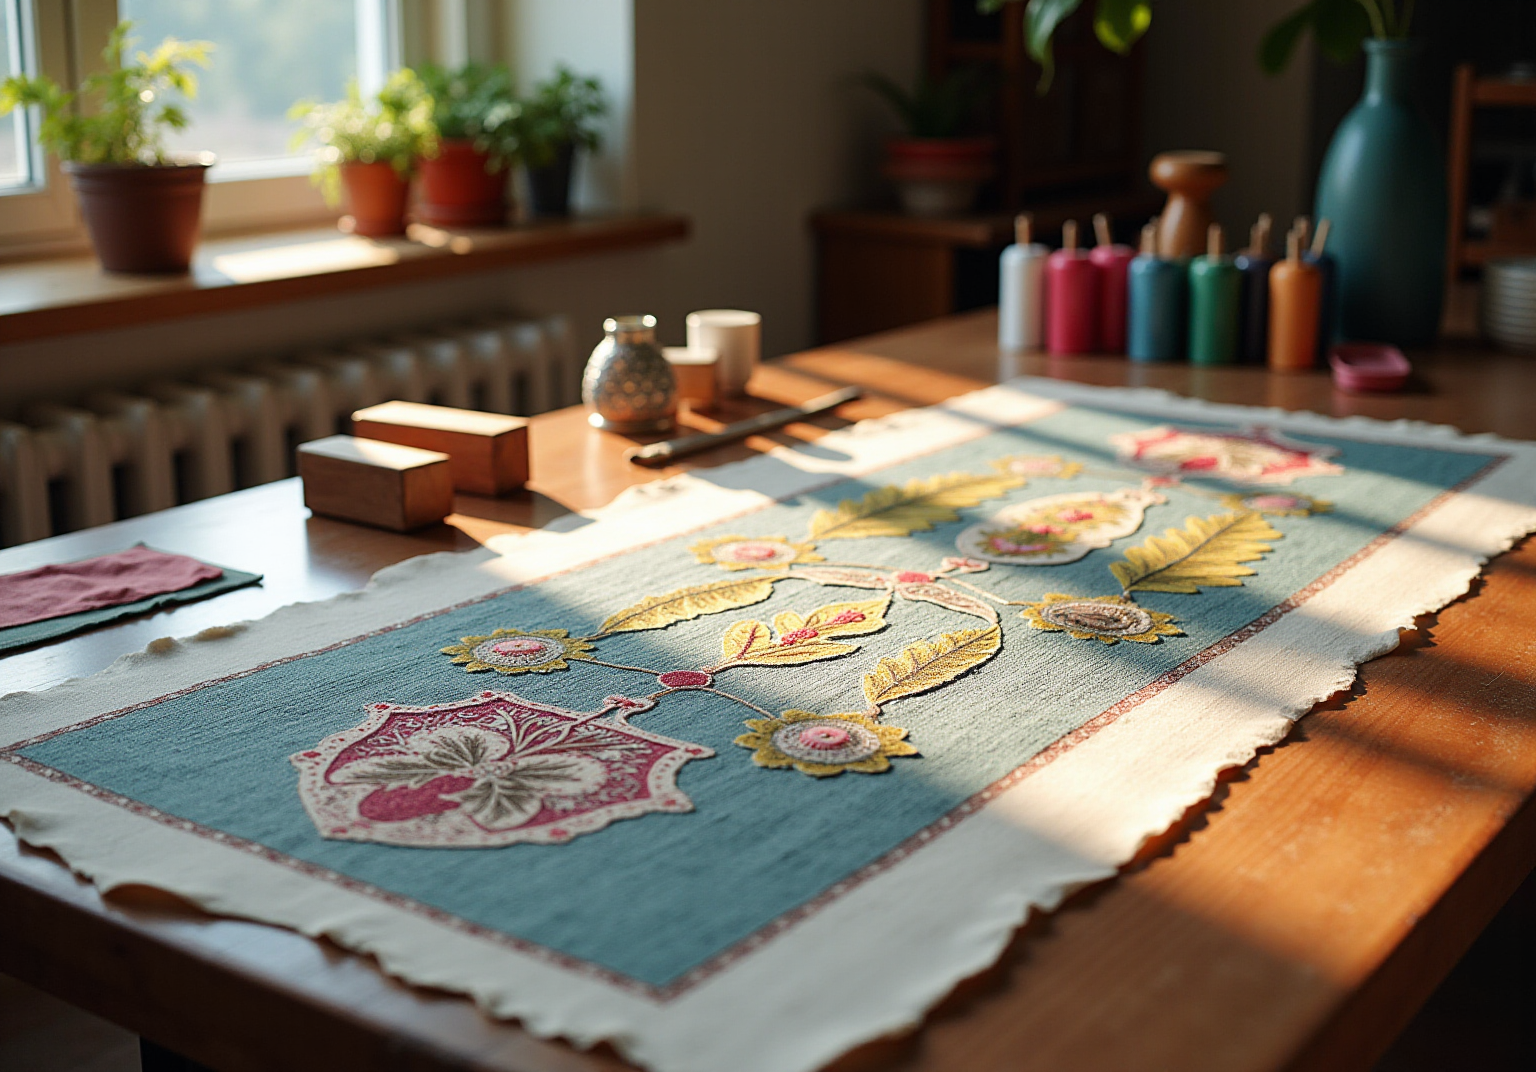
Cut the Fabric to Size for the Tabletop and Skirt
To achieve a perfectly tailored table cover, follow these essential steps for cutting your fabric:
-
Measure Your Table: Begin by using a measuring tape to determine the length and width of your table. For a standard drop, add an additional 6 to 12 inches on each side to ensure adequate coverage.
-
Mark the Material: Lay your material flat on a clean surface. Utilize a textile marker or chalk to outline the dimensions you measured, ensuring a clear and precise outline to guide your cutting.
-
Cut the Fabric: With sharp scissors, carefully cut along the marked lines. If you're making a skirt, remember to cut a long strip of material that is twice the length of the perimeter and the desired height of the skirt for a full, elegant appearance.
-
Check for Accuracy: Before proceeding, double-check your cuts against your measurements. This step is vital to prevent any fitting problems later, ensuring your cover fits perfectly and enhances the overall aesthetic of your event.
Integrating these techniques not only simplifies the process but also aligns with current trends in material cutting, emphasizing precision and quality in your table settings. Remember, expert recommendations suggest that attention to detail in your table covers can significantly elevate the overall experience of your event.

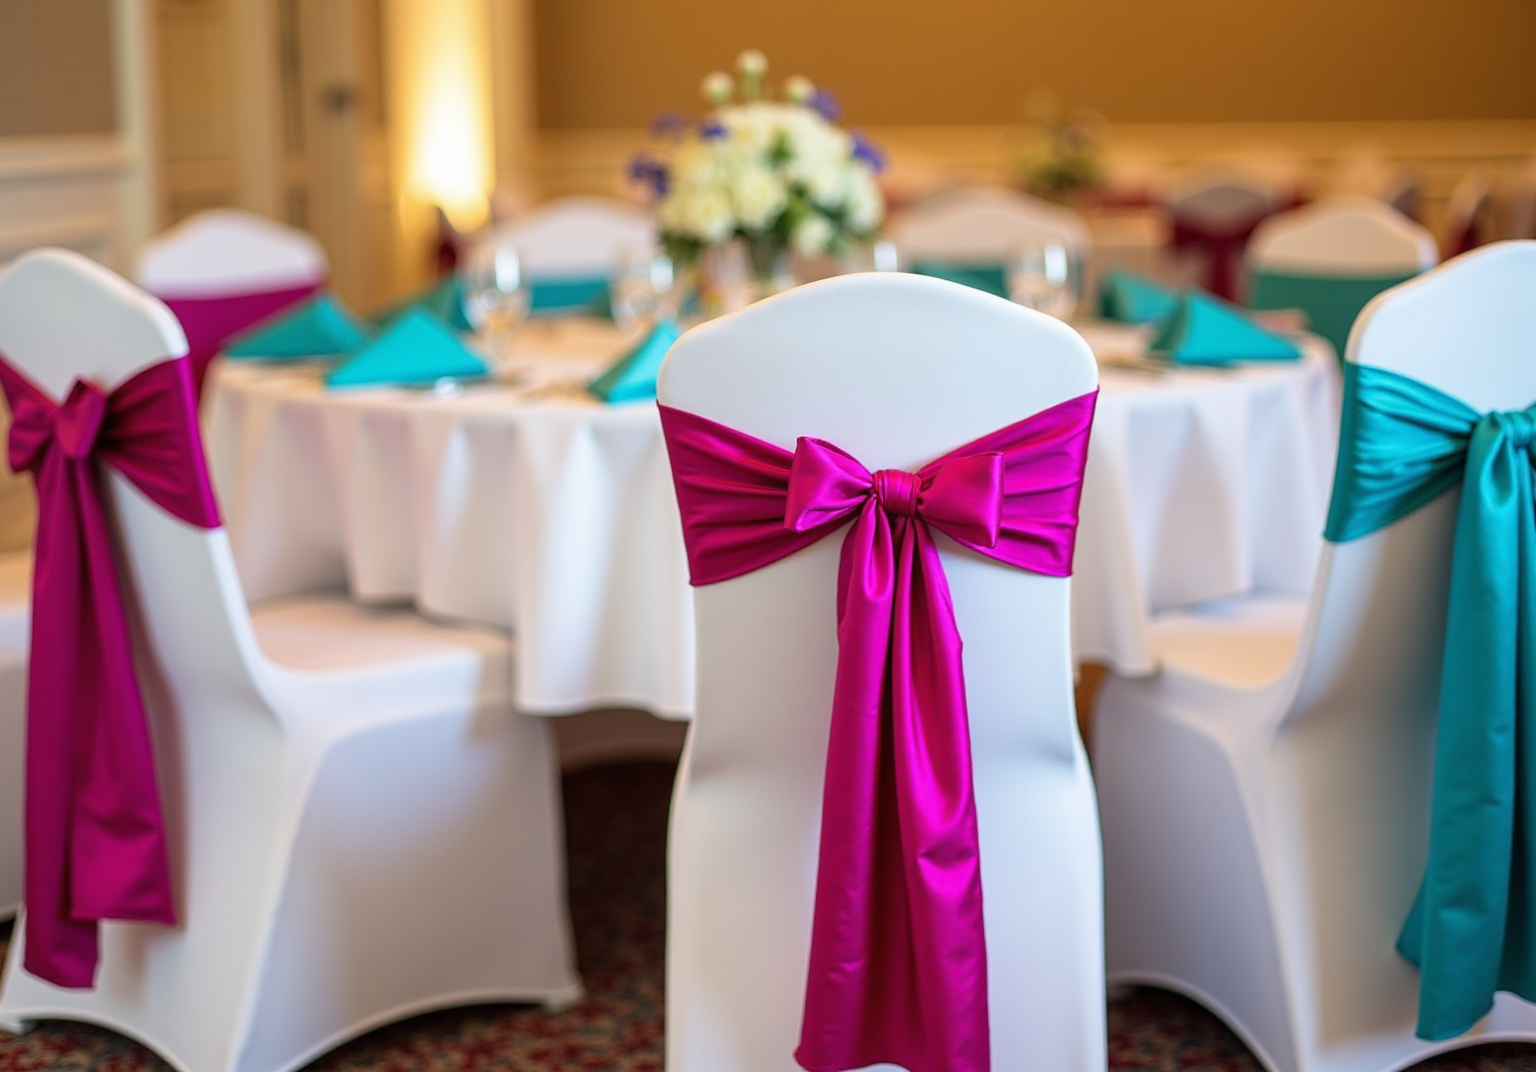
Attach the Skirt to the Tabletop for a Finished Look
To attach the skirt to the tabletop and achieve a polished finish, follow these essential steps:
- Prepare the Garment: Ensure your material is evenly distributed. Alternatively, create pleats by folding the fabric at regular intervals. This adds texture and visual interest, enhancing the overall aesthetic.
- Attach the Fabric: Begin at one end of the table, pinning the fabric to the edge of the tabletop. Ensure it hangs evenly. Fabric clips can provide a secure hold, preventing any slipping during the sewing process.
- Sew the Garment: Using a sewing machine or needle and thread, sew along the edge of the garment to attach it to the tabletop. For a no-sew option, consider fabric glue or hemming tape for a quick and easy solution.
- Check the Fit: Once secured, confirm that the garment drapes evenly around the surface. Make any necessary adjustments before securing the final stitches to ensure a flawless appearance.
As event planner Mark Kilens notes, "Events are these really special magical things that can create bonds between people, brands, and community." By concentrating on the details, such as a craft table cover that is well-fitted, you enhance the overall aesthetic and create memorable experiences for your guests. Remember, using the right craft table cover can transform your event space, making it not just visually appealing but also unforgettable.

Finalize Your Craft Table Cover with Hemming and Adjustments
To complete your craft table cover, follow these final steps:
-
Hem the Edges: Begin by folding the raw edges of the material under about 1/4 inch and pinning them in place. Sew along the edge to secure the hem. If you prefer a no-sew option, use hemming tape to secure the edges effectively.
-
Make Adjustments: Next, check the overall fit of the cloth on your surface. If necessary, make adjustments to the length or width by trimming the fabric and re-hemming. This ensures a perfect fit that enhances the overall look.
-
Press the Fabric: Use an iron to press the cloth, ensuring it is smooth and wrinkle-free. This step is crucial as it enhances the appearance and prepares it for use.
-
Final Inspection: Finally, give your surface drape a thorough inspection to ensure everything is secure and tidy. Make any last-minute adjustments as needed before showcasing your beautiful craft table cover.
By following these steps, you not only ensure a polished finish but also elevate the aesthetic of your event. Don't hesitate to take the time to perfect your craft table cover; it's worth the effort!

Conclusion
Creating a stunning craft table cover is not merely about aesthetics; it’s a crucial element that enhances the overall experience of your event. By selecting the right materials and following a clear, step-by-step guide, anyone can craft a beautiful and functional table cover that serves as a centerpiece for gatherings.
Essential materials include:
- The right fabric
- Measuring tools
- Sewing supplies
The guide provides a comprehensive approach to:
- Cutting
- Attaching the skirt
- Finalizing the cover
Each stage underscores the importance of precision and attention to detail, ensuring that the final product is both visually appealing and well-fitted.
Investing time in creating a well-crafted table cover can truly transform an ordinary event into an extraordinary one. This DIY project not only allows for personal expression but also fosters memorable moments for guests. Why not seize the opportunity to elevate your gatherings? Craft a table cover that reflects your unique style and enhances the atmosphere, making every occasion truly unforgettable.
Frequently Asked Questions
What materials are essential for creating a craft table cover?
Essential materials include fabric (such as Basic Polyester or Duchess Satin), measuring tape, scissors, a sewing machine or needle and thread, pins or fabric clips, an iron, and optionally, hemming tape.
What type of fabric should I choose for my craft table cover?
You can choose Basic Polyester for durability and stain resistance, or Duchess Satin for a more elegant touch. IQ Linens offers a variety of premium materials suitable for different occasions.
Why is measuring tape important for making a craft table cover?
Accurate measurements of your furniture dimensions are crucial for ensuring that the table cover fits properly and drapes correctly.
How can I cut the fabric to the desired size?
Use sharp scissors to cut the material to the size that you need for your craft table cover.
Should I use a sewing machine or hand sew my craft table cover?
You can choose to use a sewing machine for efficiency or hand sew for a more personal touch, depending on your preference.
What tools can help secure the material in place while sewing?
Pins or fabric clips can be used to secure the material in place, ensuring precision during the sewing process.
How can I achieve a polished look for my craft table cover?
Use an iron to smooth out any wrinkles in the fabric before you start working on the table cover.
Is there a no-sew option for finishing the edges of the craft table cover?
Yes, you can use hemming tape as a no-sew option to provide a clean finish to the edges of the fabric.
Why is it important to use quality linens for a craft table cover?
Quality linens can significantly enhance the overall look of your event, transforming your gathering into an unforgettable occasion.
List of Sources
- Gather Essential Materials for Your Craft Table Cover
- Craft Fair Table Cover (https://instructables.com/craft-fair-table-cover)
- Tablecloth Trends: Popular Materials and Styles for 2024 (https://tablelinensforless.com/blog/tablecloth-trends-popular-materials-and-styles-for-2024)
- 10 Tips for Choosing the Perfect Table Cover: Features and Buying Guide - BannerBuzz Blog (https://bannerbuzz.com/blog/10-tips-for-choosing-the-perfect-table-cover-features-buying-guide)
- Best Fabrics for Tablecloths: Suitable Materials for Every Event (https://ichcha.com/block-printing-blog/best-fabrics-for-tablecloths-suitable-materials-for-every-event)
- Shopping for Tablecloths (Published 2022) (https://nytimes.com/2022/06/27/realestate/shopping-tablecloths.html)
- Cut the Fabric to Size for the Tabletop and Skirt
- DIY Linen Tablecloth Tutorial (https://blog.fabrics-store.com/2020/07/30/diy-linen-tablecloth-tutorial)
- Case Study_Place Setting - A1 Tablecloth Co. (https://a1tablecloth.com/case-study_place-setting)
- Attach the Skirt to the Tabletop for a Finished Look
- The Importance of Table Linen and Skirting at Events (https://pipeanddrapeonline.com/the-importance-of-table-linen-and-skirting-at-events?srsltid=AfmBOopdaekjSdPKuElYfEHlvbDnAMh2lRiApCJuA2CkbaAZN97UBpju)
- Trending Table Skirts in 2023: Elevating Dining Aesthetics to Meet Modern User Needs (https://insights.made-in-china.com/Trending-Table-Skirts-in-2023-Elevating-Dining-Aesthetics-to-Meet-Modern-User-Needs_wtefbkaJumHx.html)
- 24 Quotes Every Event Planner Will Appreciate (and Probably Print Out) - A2Z Events (https://mya2zevents.com/blog/event-planner-quotes)
- Master Table Skirting: Best Practices to Elevate Your Events (https://go.iqlinens.com/blog/master-table-skirting-best-practices-to-elevate-your-events?hs_amp=true)
- How To Sew A Table Skirt (https://cvlinens.com/blogs/styling-tips/how-to-sew-a-table-skirt?srsltid=AfmBOorug8155skLcIubYoTsj7ukRhGrmAyxWRPb98arT35Nem9qcadm)